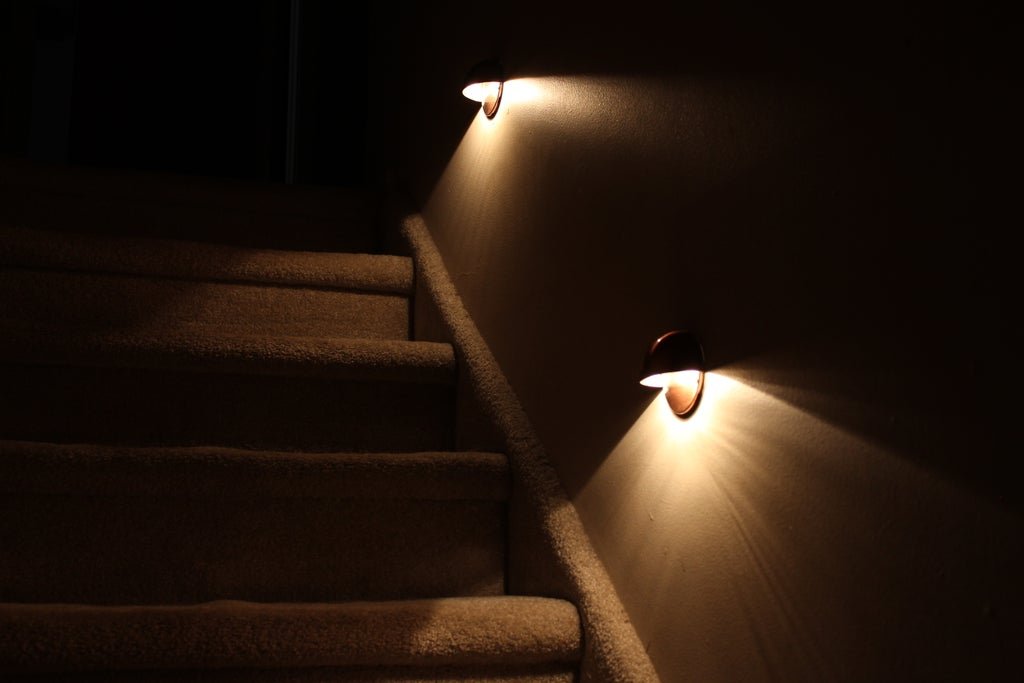
Stair lights, especially if you have stairs that are used regularly, are of great importance to homeowners. Not only do they offer safety to individuals who use them on a regular basis. But they can also be an incredible decorative piece of home decor as well. If you’re not sure where to start your search, these 5 steps will help you rejuvenate your staircase with stair lights:
Step 1) Prepare your requirements

Before you start shopping for stair lights, it’s a good idea to determine your specific requirements and needs. If you’re looking for decorative lights that will brighten up a set of stairs or entranceway, then pendant lighting might be your best option. Alternatively, if you need to light up dark or dangerous spaces, then outdoor motion sensors are probably what you need. Similarly, style preferences will come into play when you’re picking out lights—you may want something contemporary or traditional. And don’t forget about size! Different styles can produce different results depending on how big or small they are. Look around at all these things before you start browsing stair lights in person so you have some criteria already in mind. This way, you can eliminate options right away that just won’t work with your space.
Step 2) Identify stair lighting options

When it comes to lighting your staircase, there are plenty of options. Before you even get started, you should identify several different types of stair lighting and what they look like in action so that you know what’s possible and can narrow down your options. Some common examples include linear lights, with sources mounted at one end or underneath steps.
Bollard lights that mount at an angle or hang straight down from above. Step lights that line up alongside each step, potentially encased in a railing-like structure; and accent lights with multiple bulbs designed to highlight just one or two steps. After narrowing your choices based on style, you can explore things like wattage per light source (more is always better) as well as how easy fixtures are to install on your own.
Step 3) Check the lighting fixtures

When it comes to stair lighting, aesthetics are just as important as functionality. A bad lighting fixture can easily detract from a room’s overall design or ambiance. Make sure that any prospective lighting fixtures will complement your home’s interior design style. For example, an elegant crystal chandelier is likely out of place in a modern bachelor pad. Get comfortable with any unique features included in each light (such as remote control), and decide whether you want them before finalizing your selection.
If you have existing electrical wiring already installed, make sure your new lights are compatible. Otherwise, rewiring may be necessary; consult a professional electrician for details on how to proceed safely. And, finally, consider using LED lights. LEDs use up far less energy than standard bulbs do—which means lower electricity bills—and they generally last much longer than their traditional counterparts.
Step 4) Buy the stair light(s)

First, check out what types of stair lights are available. You can go with an over-the-rail system like The Right Light. Or one that attaches to your handrail which will look best if it matches your railings. If you plan on installing these lights yourself, pay close attention to any instructions. Is anything adjustable? Is there a certain order in which things should be installed? Once you have all of your pieces together, assemble them according to their instructions.
And don’t forget any necessary tools! This part may take some time so make sure you have enough elbow grease before beginning. When you’re ready, begin attaching your fixtures as directed. Test each light as you go along to make sure it works properly—this is especially important for those who do not have previous electrical work experience. Repeat as necessary until all fixtures are attached, checked, and working properly. Now that your stair lighting project is complete, enjoy making your home more functional and stylish than ever before!
Step 5) Install the stair light(s)

Installing a stair light is usually pretty simple, assuming your stairs are at least five feet wide. Even then, it’s still typically a one-person job that can be completed in an hour or less. First, find where you want to install your light(s) and mark their positions with masking tape. Make sure your markings are precise—even a small error can create shadows at the top or bottom of your steps once installed. Then cut holes for each light fixture using a jigsaw with fine-tooth blades for wood or plywood surfaces; if you’re working with plasterboard (drywall), use shears. Next, move electrical cables to either side of the hole so they don’t interfere with stair railings. Finally, snap your new fixtures into place and screw them down for permanent installation.

